Take-Home Instructions – From Builder
Step 1: Take Home Instructions
Clicking the “Take Home Instructions” button in the “Choose Form” window will open a window where you can customize the printable form.
The Take Home Instructions Form is divided into five sections: Patient Data, Diagnosis, Home Instructions, Disposition, and Follow-up.
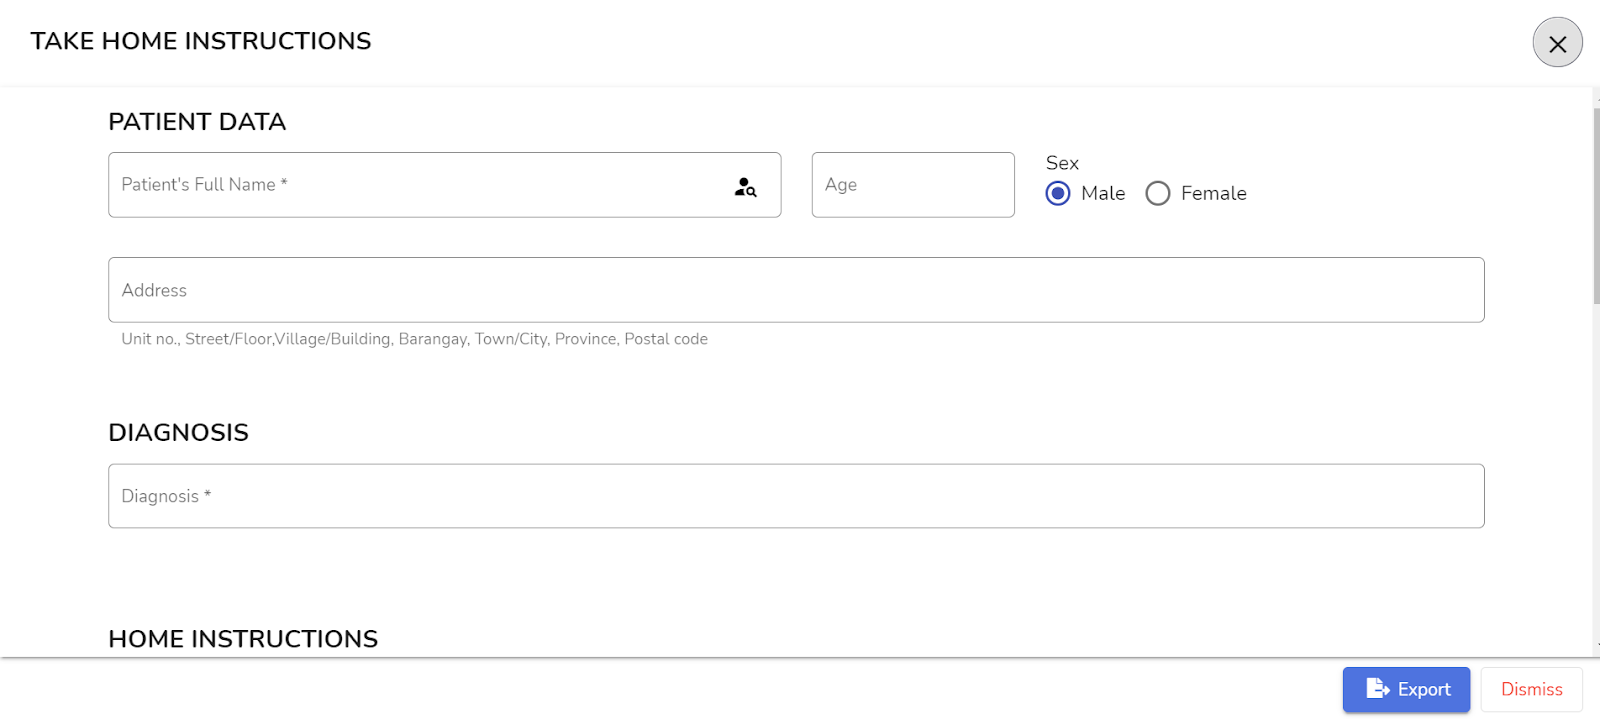
Step 2: Patient Data
The Patient Data section is where you input your patient’s information. You can either fill this out with a patient registered in your database or with a new one.
For registered patients, click the “Search” icon in the right corner of the Patient’s Full Name field.

Doing so will display a list that contains all your registered patients.

Select the patient you wish to generate a Take Home Instructions form for. You will notice that the patient data fields are now prefilled with the data of the patient you selected.

You can manually fill out the required fields and follow the same process.
Step 3: Fill Out Diagnosis Field
Fill out the diagnosis field.

Note that this field is required. Leaving it blank will display a warning beneath the Diagnosis field.

Step 4: Fill out Diet and Specific Instructions
In the Home Instructions section, the Diet and Specific Instructions are text fields that you can manually input information.

The Diet text field is a required field, which if not filled out, it will appear in red, and a warning will display.

To add a prescription, click on the “+Add Drug” button and an additional field group
will display as follows.

Just fill out the required fields, and it will automatically add the prescribed drug in the form.

What if you want to add another Drug?
You can add multiple prescriptions into the form by clicking the “+Add Drug” button.

After clicking the “+Add Drug” again, a duplicate field will display as follows.

To delete an existing Drug, click the “Trash Can” icon.

Same as the “+ Add Drug” button, click the “+ Add Test” button to add a diagnostic test to the Take Home Instruction form.

There are pre-existing tests in the Test field that you can either select , like so.

Or manually type the desired test.

To delete any tests saved, click the “Trash Can” icon.

Step 5: Disposition
Proceeding to the Disposition section.
The default disposition is “Improved”.

Take note that you can only choose one Disposition for the form.

Step 6: Follow Up
You can skip the Follow-Up section of the Take Home Instructions form since it’s not required. Nevertheless, when filling out the Date and Time field of the section, a pop up window will appear.


The Date and Time fields will be filled out once you have selected your desired date and time.
Step 7: Export the Document
After filling out the required fields, click on the “Export” button on the bottom right corner of the window.

Step 8: Download and Print
After clicking the “Export” button, a new tab will appear, showing the customized Take Home Instruction form ready to download and print.
