Using The Lab Results Step In the Consultation Proper
Step 1: Lab Results
The purpose of the Lab Results stage is to attach any Lab Results conducted to the patient to aid the consultation.

Step 2: Click Add “+” button
To add a lab result, click the “+” icon on the left part of the header.

Step 3: Add Lab Results Card
After clicking the button, a pop up window will display the date, test, and remarks text fields.

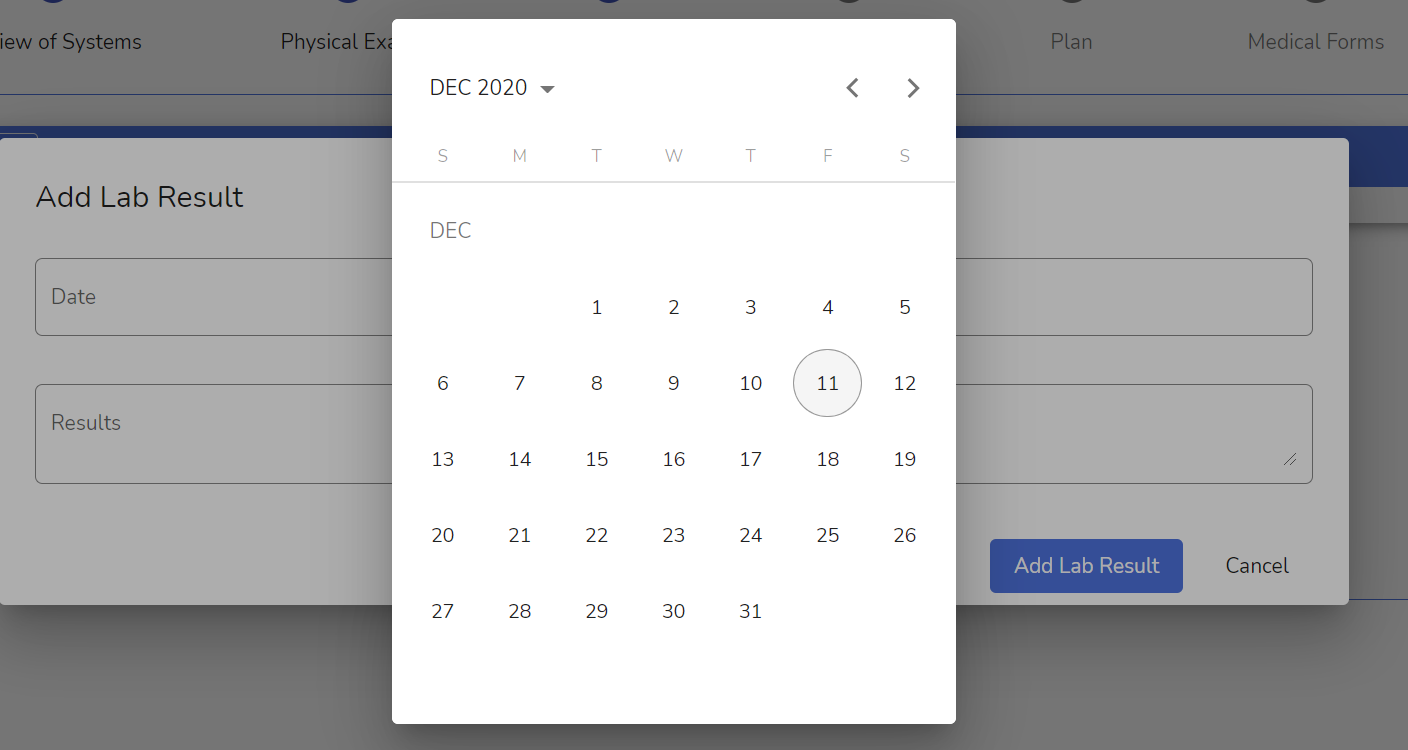
Step 4: Select Date
When you click the Date field, a date picker will emerge.
Step 5: Select Lab Test
The Test field shows suggested options. You can either pick from the preexisting suggestions or manually input the test submitted.

Step 6: Add Lab Test Result
After filling out the desired fields, click on the “Add Lab Result” button to save.

This will automatically show display in the table with their corresponding columns like so.

Step 7: Edit and/or Delete Lab Test Result
You can edit or delete any saved lab results by clicking on the “Action” icon on the right column.

It will then display a dropdown for the “Edit” and “Delete” button.

Step 8: Proceed to Next Stage
After saving, you can click the “Next” button on the bottom right of the screen to proceed to the next stage.
